The Complete Ceramic Coating Process: Step-by-Step Guid
Ceramic coating has taken the automotive world by storm. For car owners who cherish that glossy finish and ultimate paint protection, ceramic coating is a game-changer. This liquid polymer chemically bonds with your car’s factory paint, creating a durable layer of protection.
Unlike traditional waxes or sealants, ceramic coatings resist environmental contaminants like bird droppings, UV rays, acid rain, and even minor scratches. But the real beauty of ceramic coating isn’t just its effectiveness—it’s the stunning, wet-look finish it leaves behind.
This guide walks you through The Complete Ceramic Coating Process, ensuring your car looks as good as it did the day you bought it—or better.
What is Ceramic Coating?
Ceramic coating is a chemical polymer solution applied to the exterior of a vehicle. It blends with the factory paint, offering a hydrophobic surface that repels water, dirt, and grime. Unlike wax that simply sits on top, ceramic coating becomes a semi-permanent layer.
Benefits of Ceramic Coating for Vehicles
- Protection from UV rays: Prevents oxidation and fading
- Ease of cleaning: Dust and water slide off effortlessly
- Enhanced shine: Makes your car look showroom-new
- Resale value: Maintains paint integrity
- Chemical resistance: Shields against salt, sap, and bird droppings
Understanding the Vehicle's Surface Condition
Before applying ceramic coating, evaluate your car's surface. Are there scratches, swirl marks, or oxidation? You can't coat over imperfections—what you see before coating is what you’ll seal in forever.
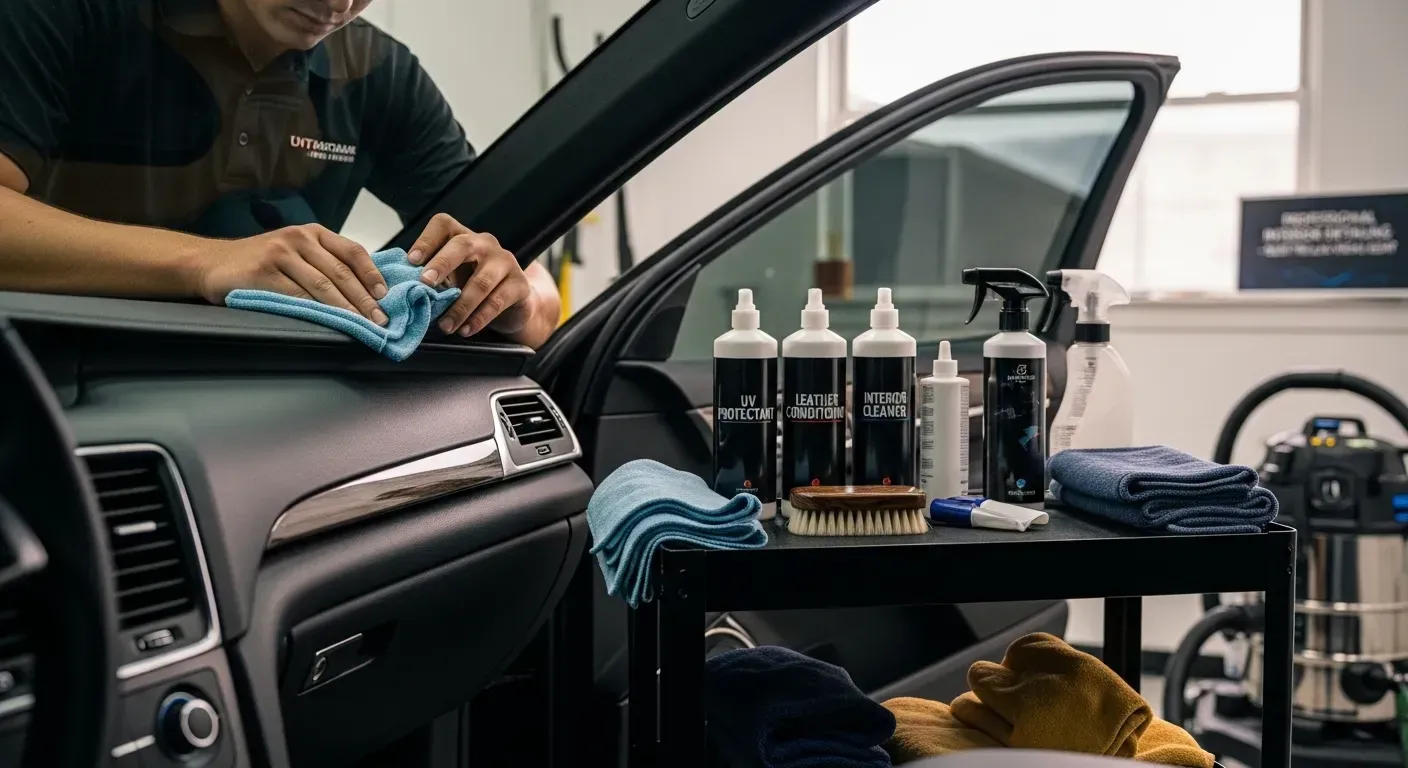
Tools and Materials You’ll Need
Here’s a checklist to get started:
Tool Purpose
Microfiber towels Cleaning and buffing
Clay bar Surface decontamination
Isopropyl alcohol Final wipe-down
Polisher & pads Paint correction
Ceramic coating kit Protective layer
Nitrile gloves Skin protection
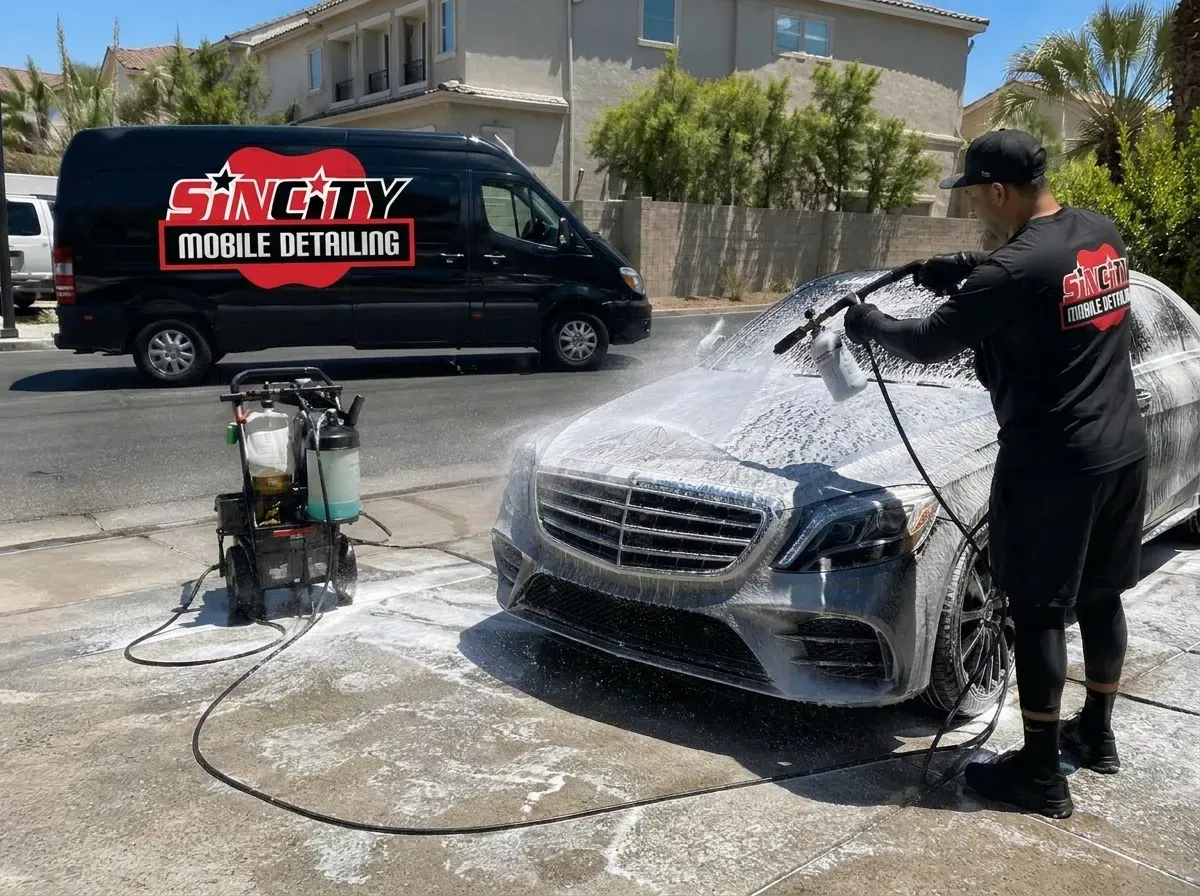
Pre-Wash and Degreasing
Start by degreasing the car using an all-purpose cleaner. Focus on removing waxes, oils, and grime. Rinse thoroughly to prevent residues from interfering with the coating.
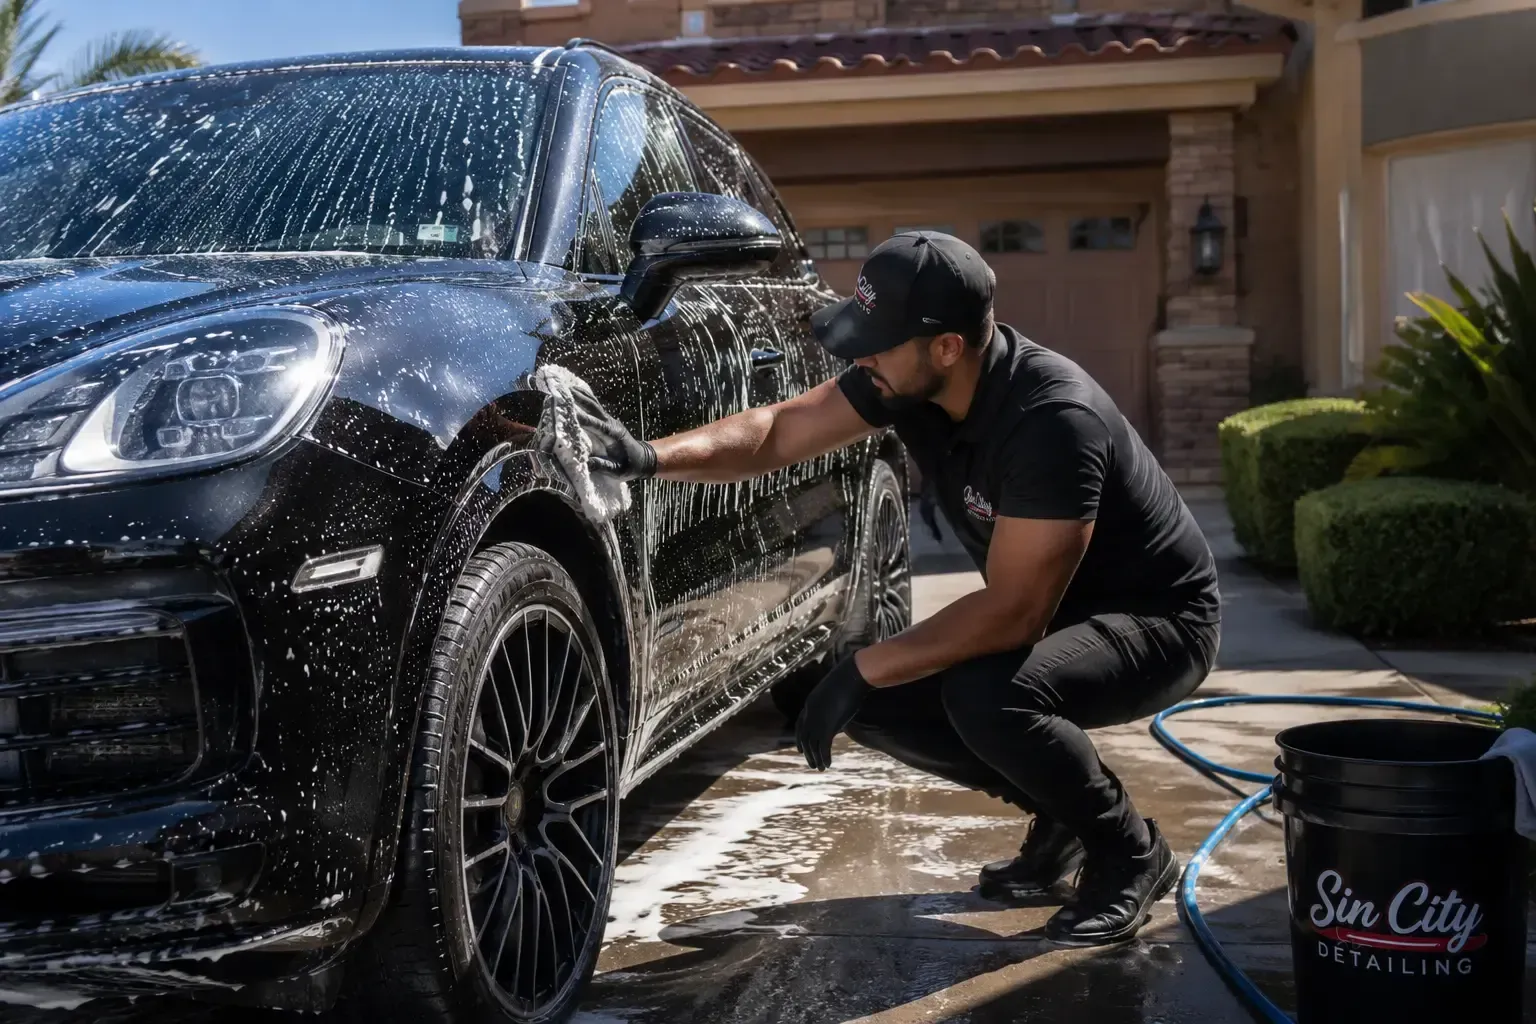
Washing with pH Neutral Soap
Using pH-neutral car shampoo helps preserve the paint while removing contaminants. Use the two-bucket method—one for rinsing and one for soap—to avoid reintroducing dirt.
Iron Removal and Tar Dissolution
Next, apply an iron remover. You'll see purple streaks where it reacts with embedded metallic particles. Follow up with a tar remover on stubborn spots, especially around the lower panels and behind wheels.
Clay Bar Treatment
Run your hand across the paint after drying. Feel any rough spots? That’s contamination. Use a clay bar with lubricant to glide over the surface and pull out those impurities for a glass-like finish.
Identifying Imperfections
Examine the surface under proper lighting. Any swirls, haze, or scratches? Those must be removed now. Remember—ceramic coating locks in what’s underneath.
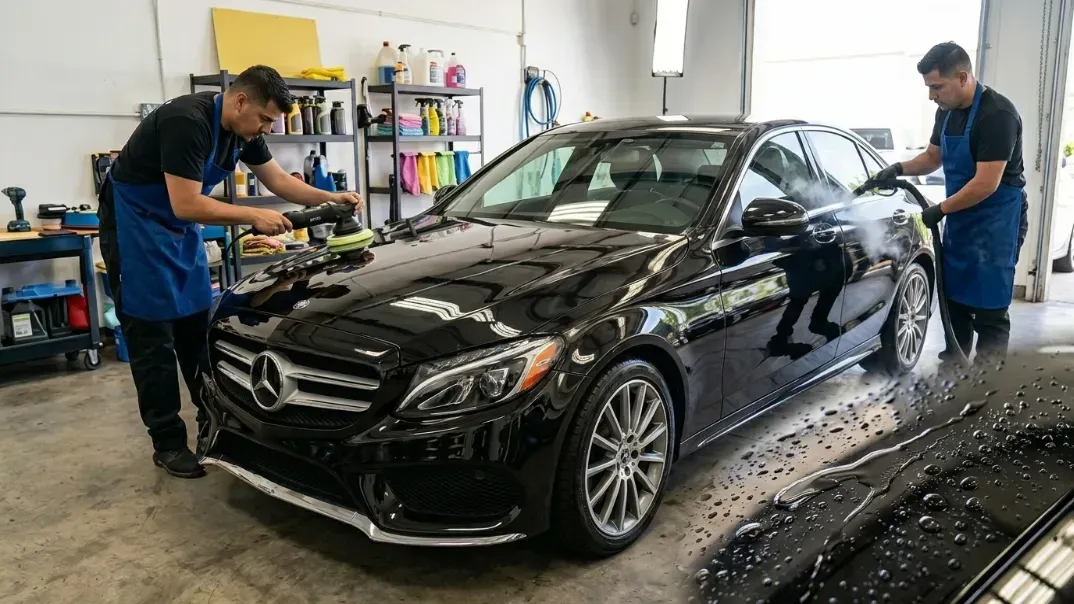
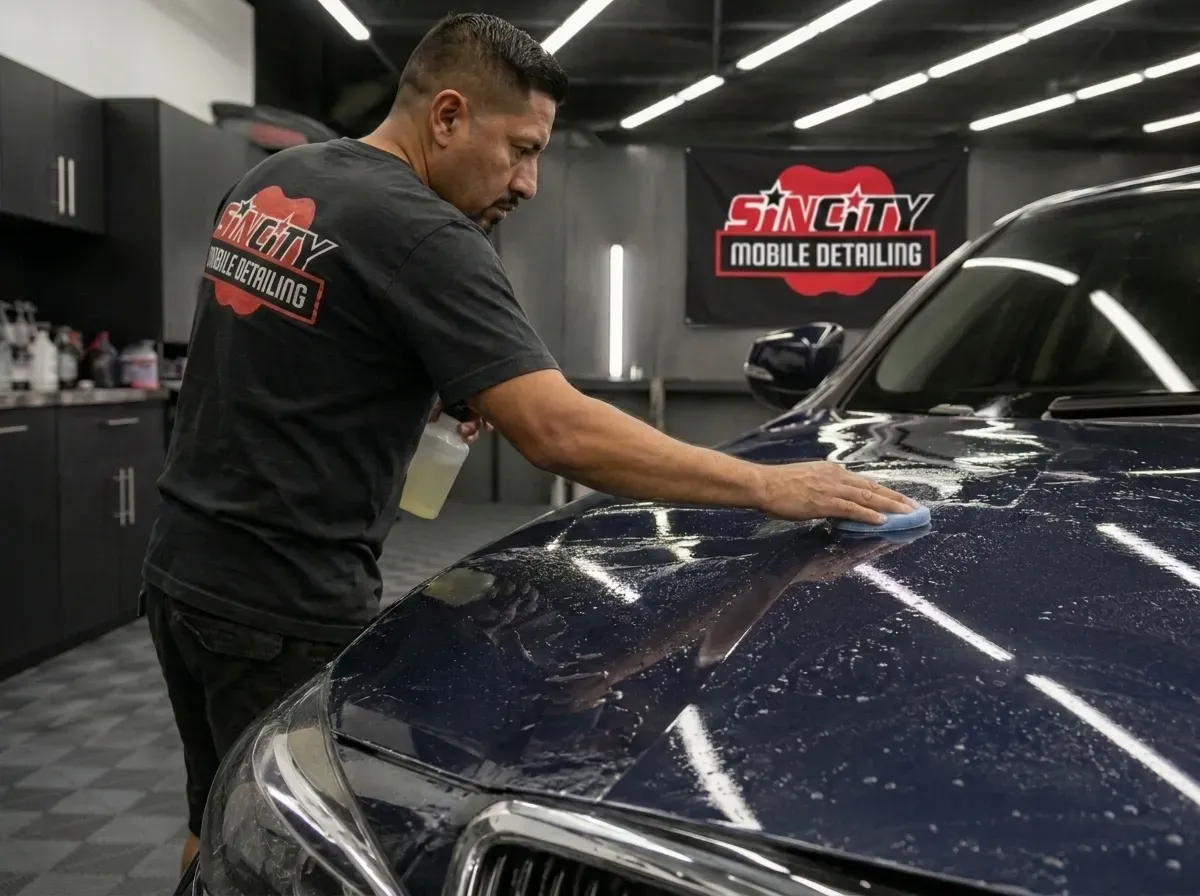
Machine Polishing Techniques
Use a dual-action polisher with the correct pad and compound. Start with test spots, working panel by panel. Always keep the pad flat and move slowly for even results.
Wiping Down with Isopropyl Alcohol
After polishing, wipe down every panel with isopropyl alcohol. This removes any polishing oils and leaves a completely clean surface for the ceramic to bond.
Ensuring a Dust-Free Environment
If you're working in a garage, close doors and minimize airflow. Dust can ruin a flawless application. Wear clean clothes and avoid touching treated panels.
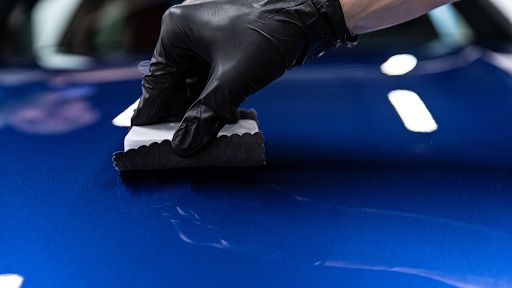
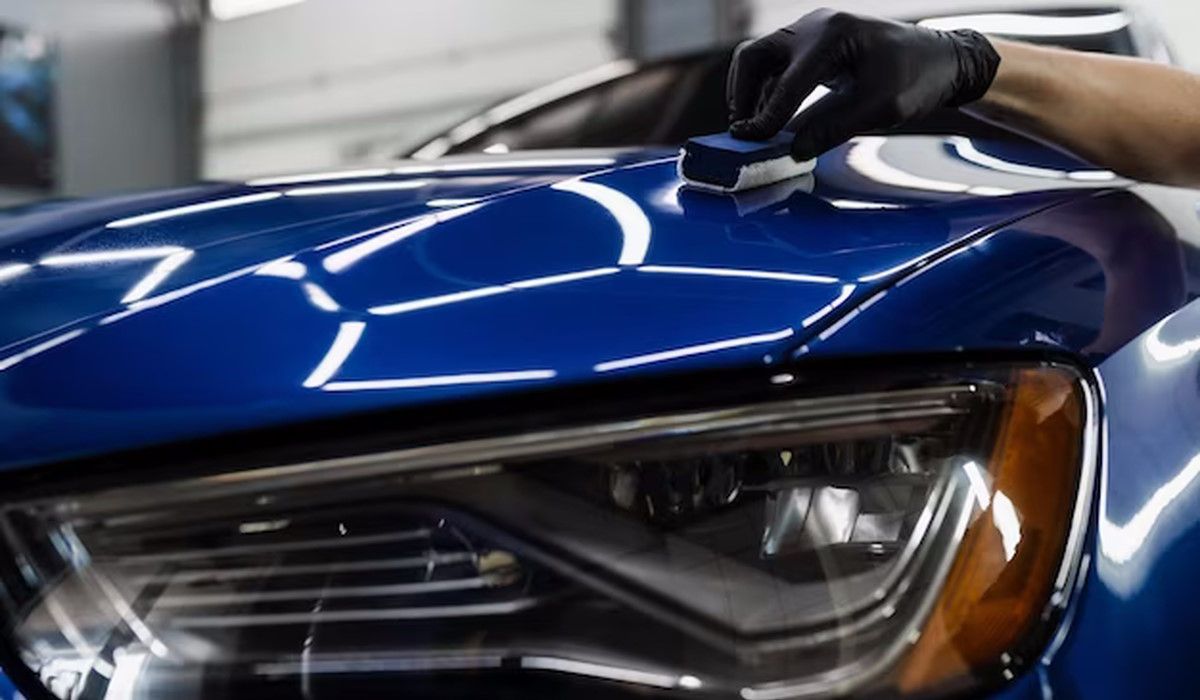
How to Apply Ceramic Coating Step-by-Step
- Shake the bottle well and apply a few drops to the applicator pad.
- Work in small sections (2x2 feet).
- Apply in a criss-cross motion—horizontal then vertical.
- Wait 1–5 minutes for the coating to flash (depends on product).
- Buff with a clean microfiber towel until clear.
- Let the coating cure undisturbed.
Flash Time and Buffing Tips
Flash time varies with temperature and humidity. A rainbow sheen usually means it’s ready to buff. Don’t wait too long—it becomes harder to remove.
Air Curing vs IR Curing
Air curing takes up to 24 hours to touch and 5-7 days for full cure. For quicker results, professionals use infrared lamps to speed up the process safely.
Best Practices for Optimal Results
- Avoid water contact for 48 hours
- Don’t wash the car for a week
- Use only pH-neutral shampoos afterward
- Apply a topper for extra slickness
Initial 24-48 Hours Care
Keep your car indoors or covered if possible. Water contact can cause high spots or streaking before the coating fully hardens.
Maintenance Tips for Long-Term Gloss
- Use dedicated ceramic coating shampoos
- Dry with microfiber towels only
- Apply maintenance sprays monthly
- Decontaminate bi-annually with iron removers
Over-Application and Streaking
More is not better. Excess product leads to streaks and wasted coating. Stick to manufacturer guidelines and work in manageable sections.
Applying in the Wrong Environment
Avoid direct sunlight, high humidity, or wind. These can affect curing and cause uneven application. Work in a cool, shaded area if possible.
Durability Comparison
Coating Type Longevity
Wax 1-2 months
Sealant 4-6 months
Ceramic 2-5 years
Cost and Value Differences
Ceramic coatings are more expensive upfront, but they eliminate the need for frequent detailing. Long-term, they save time, money, and your paint job.
Pros and Cons of DIY Ceramic Coating
Pros:
- Lower cost
- Hands-on satisfaction
Cons:
- Requires prep knowledge
- Risk of improper application
Many car owners still opt for Professional Detailing Services to ensure perfection.
Why Professional Detailing Might Be Better
Professionals have better tools, lighting, and controlled environments. Plus, their experience helps avoid costly mistakes. If unsure, trust the pros.
Does It Make Your Car Scratch-Proof?
Not entirely. It’s resistant to minor abrasions but won’t prevent deep scratches. Think of it as a sacrificial layer that takes the damage instead of your paint.
Do You Never Need to Wash Your Car Again?
Nope! You still need to wash, but it’s easier. Dirt won’t stick as much, and you won’t need harsh chemicals to clean it.
FAQs about Ceramic Coating
How long does ceramic coating last?
Typically between 2 to 5 years depending on the product and maintenance.
Can I wax over a ceramic coating?
It’s not necessary, but some use ceramic boosters or toppers for extra gloss.
Is ceramic coating safe for all car paints?
Yes, though prep is crucial for proper bonding.
Does ceramic coating protect against rock chips?
Not entirely. For that, a PPF (paint protection film) is better.
Can I apply ceramic coating in my garage?
Yes, but ensure it's clean, dust-free, and not too humid.
What happens if I apply it wrong?
You may see high spots, streaks, or dull patches. These often need to be polished off and redone.
Conclusion
Ceramic coating is more than just a trend—it’s a long-term investment in your vehicle’s appearance and protection. Whether you choose to do it yourself or rely on a Mobile Auto Detailing Service, understanding the full ceramic coating process helps you make the right choice.
Take the time to do it right, and your car will thank you with a brilliant shine and years of protection.
Links